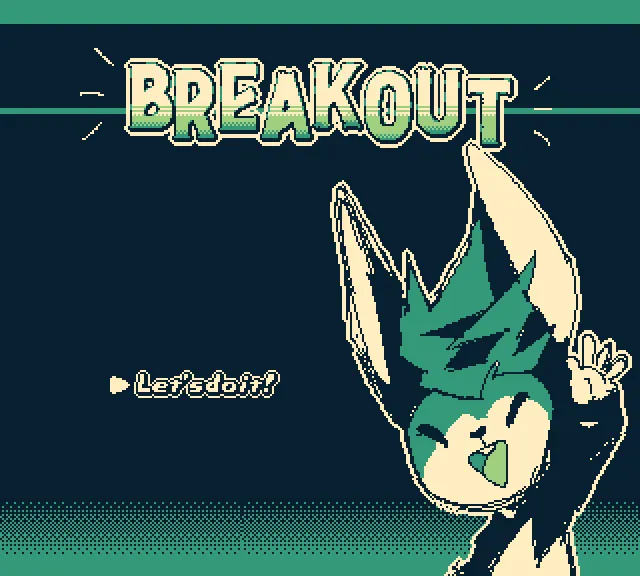
Brickout
Introduction
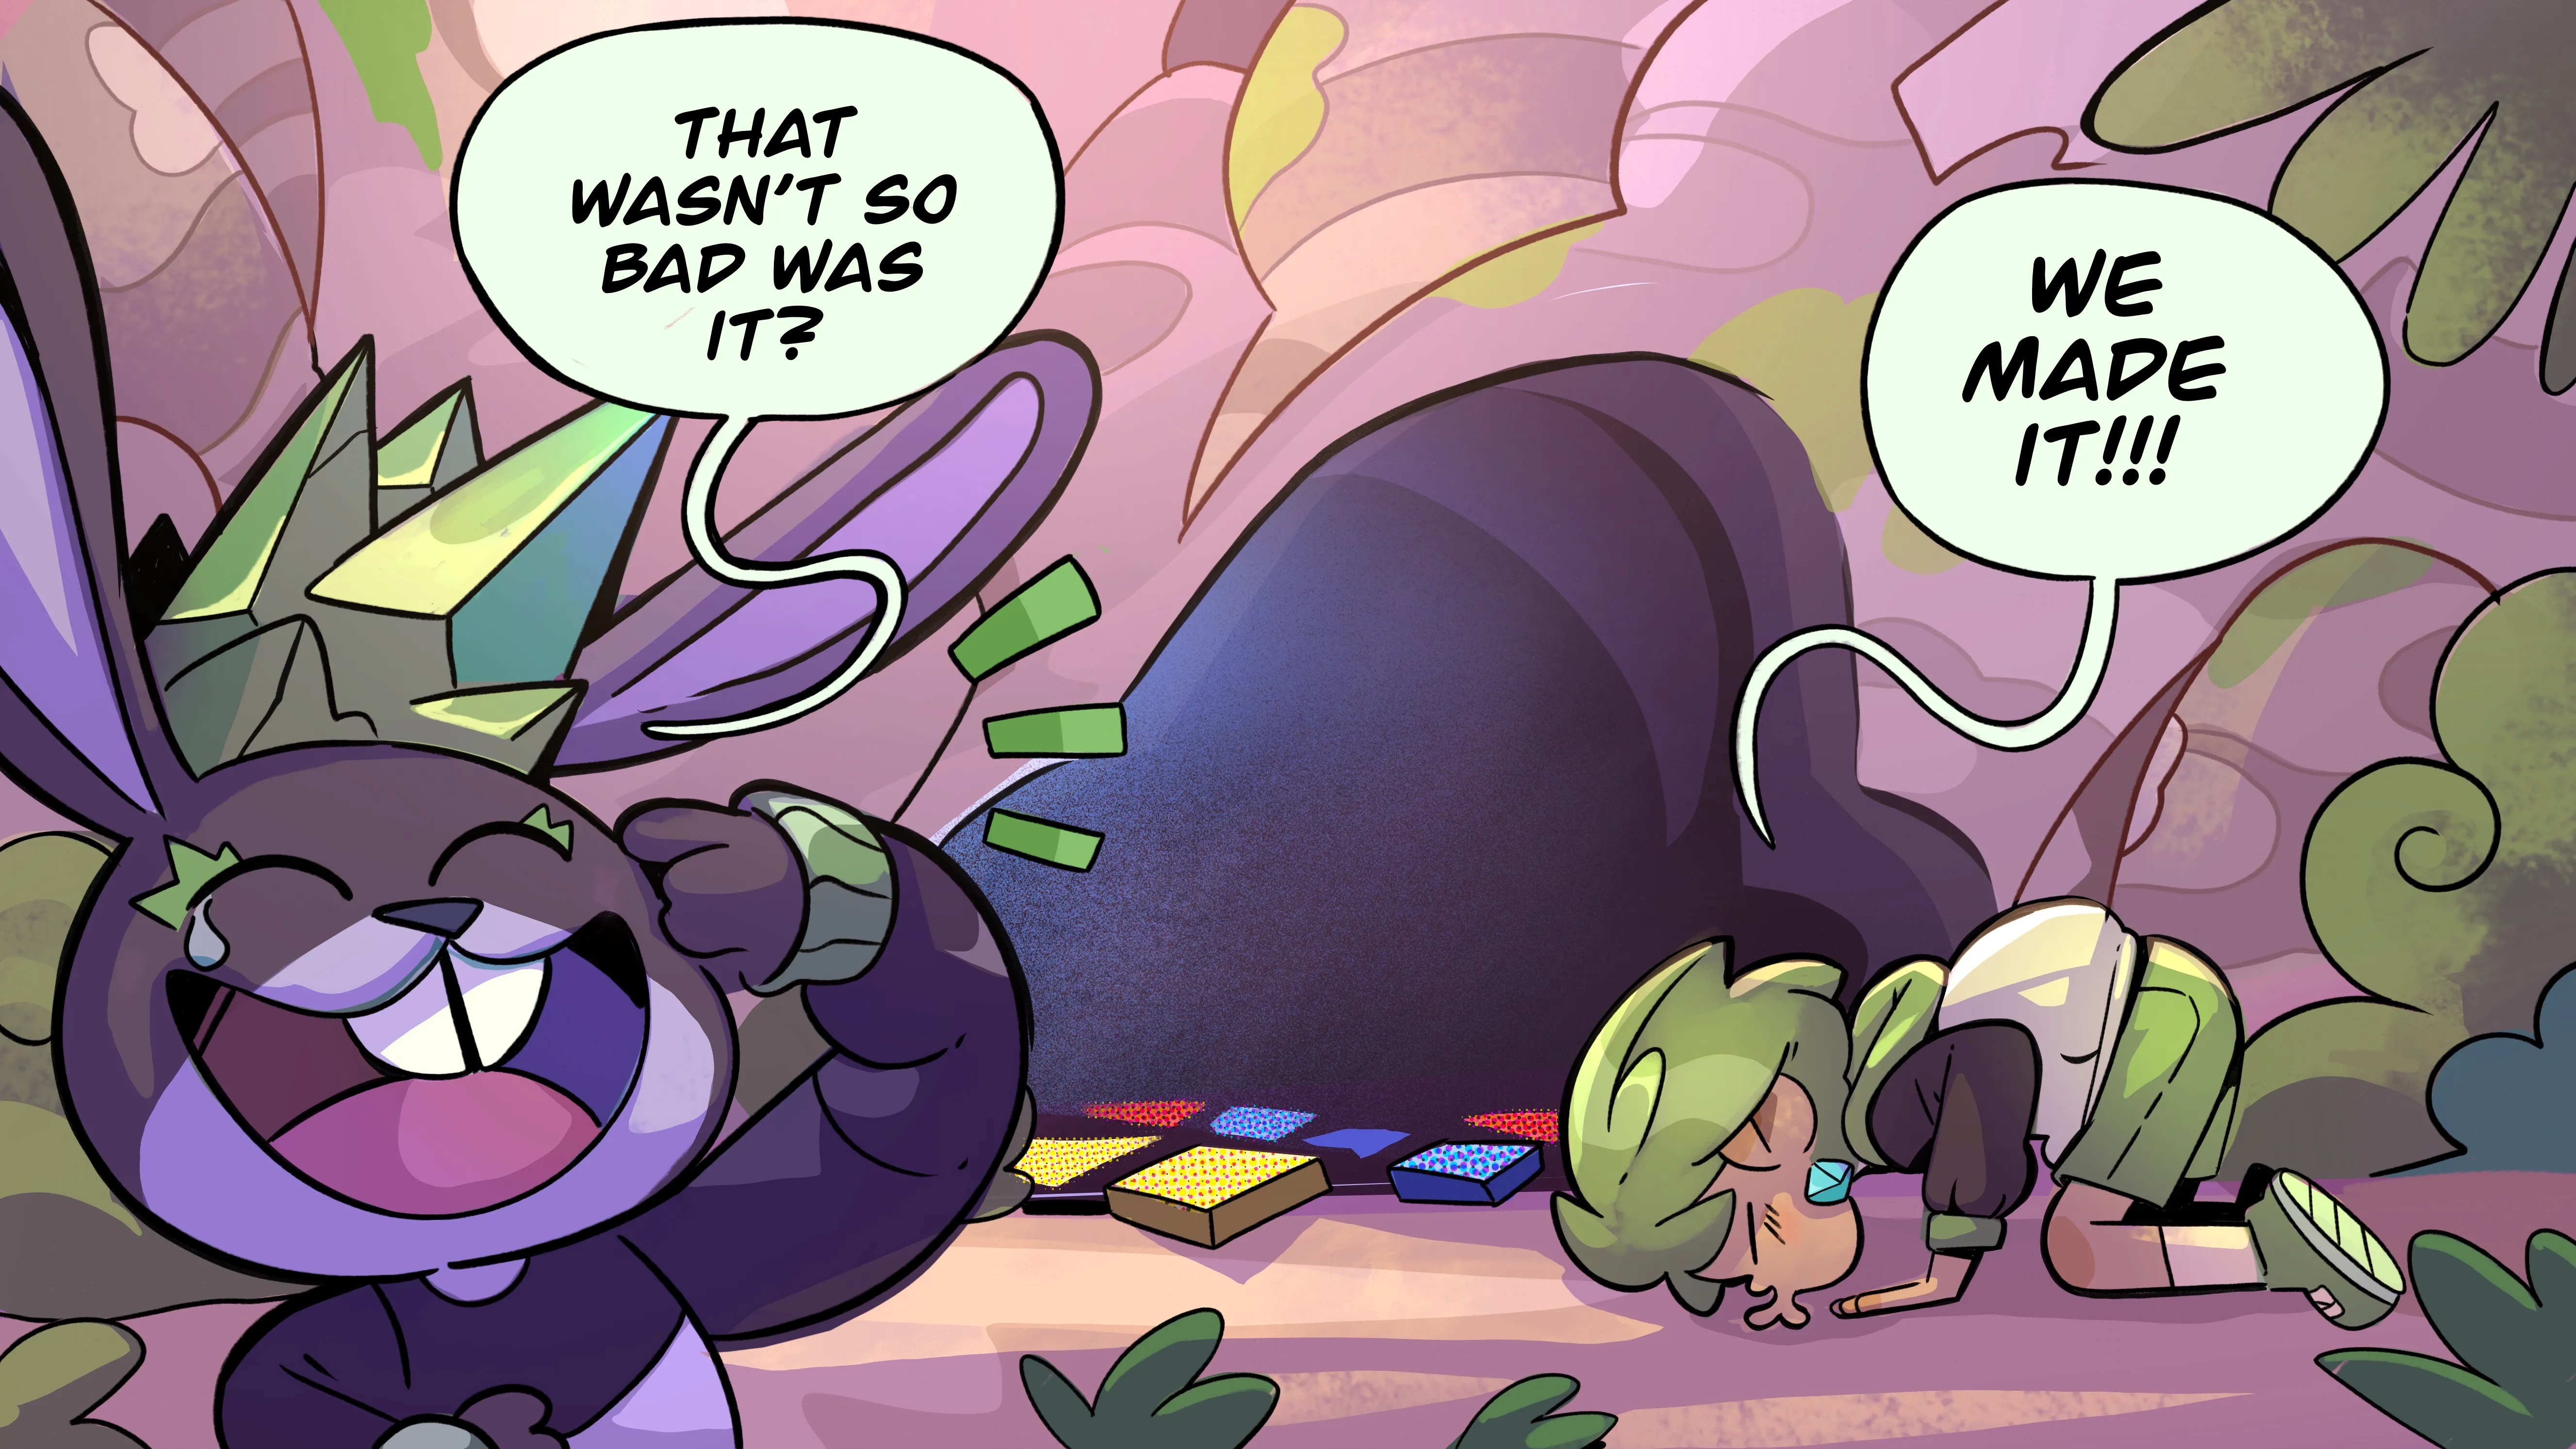
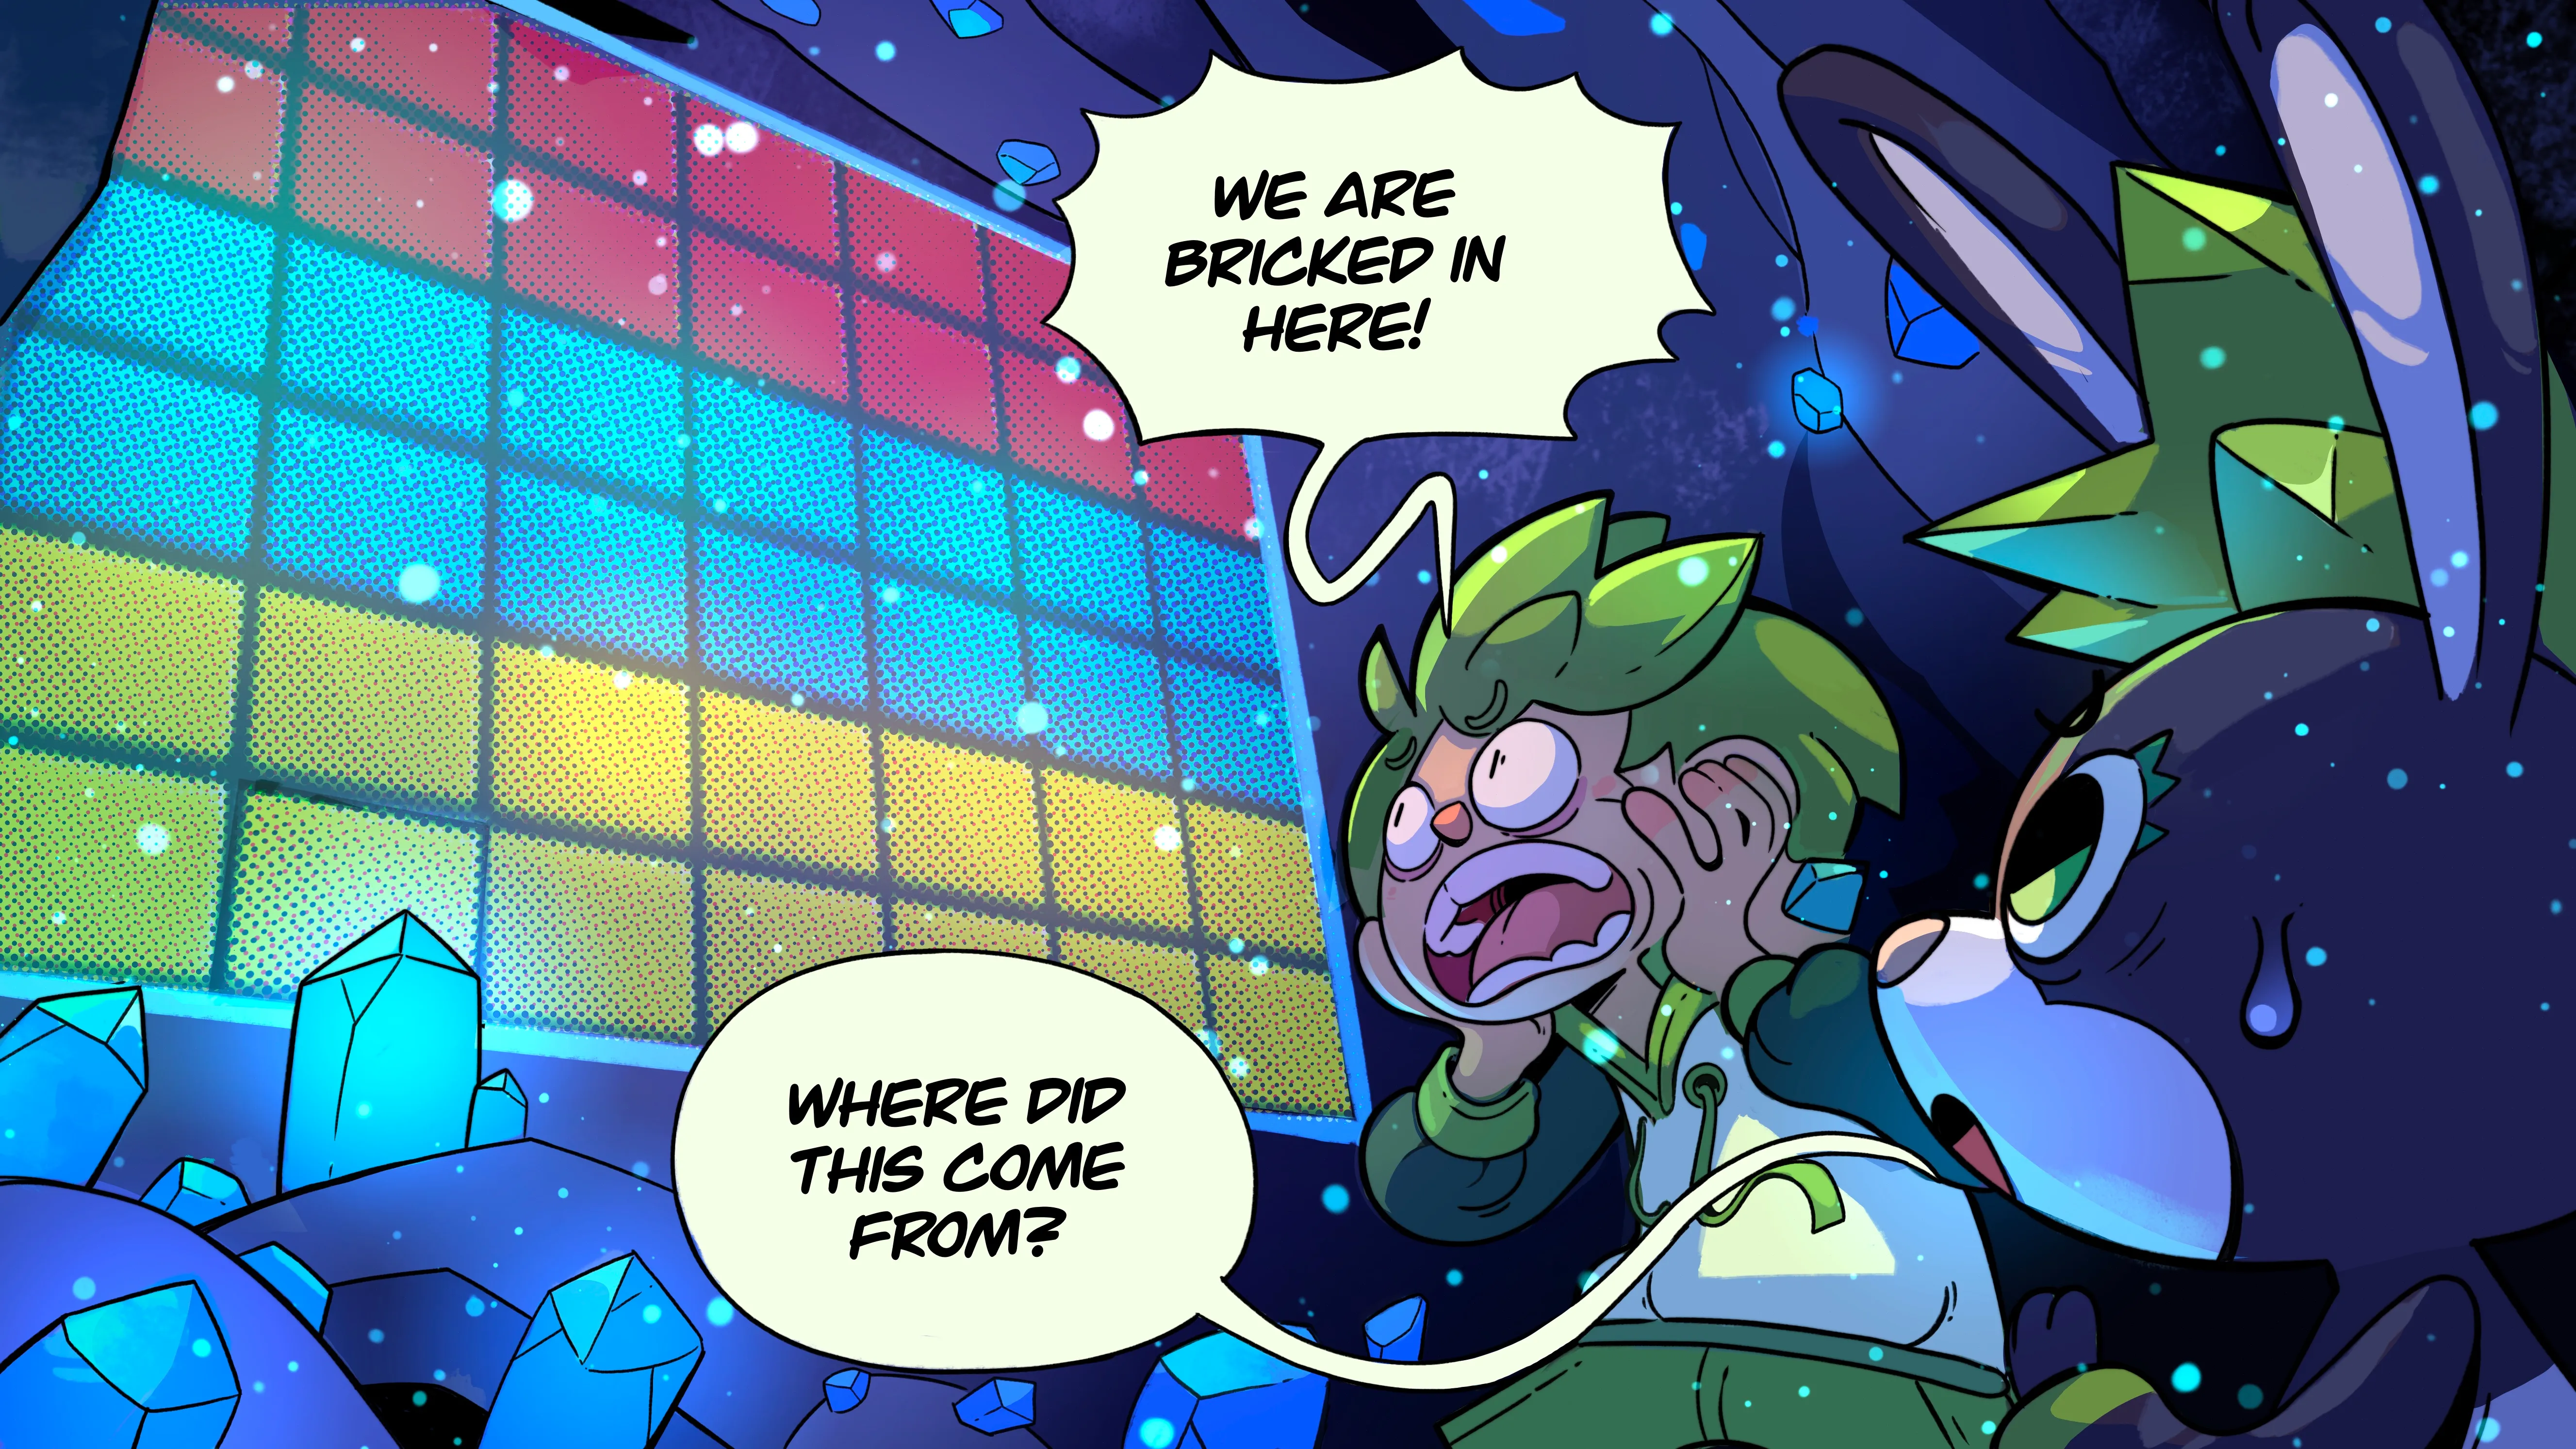
Dashie: "Where did this come from?"
Kion: "Omg: We're locked in here!!"
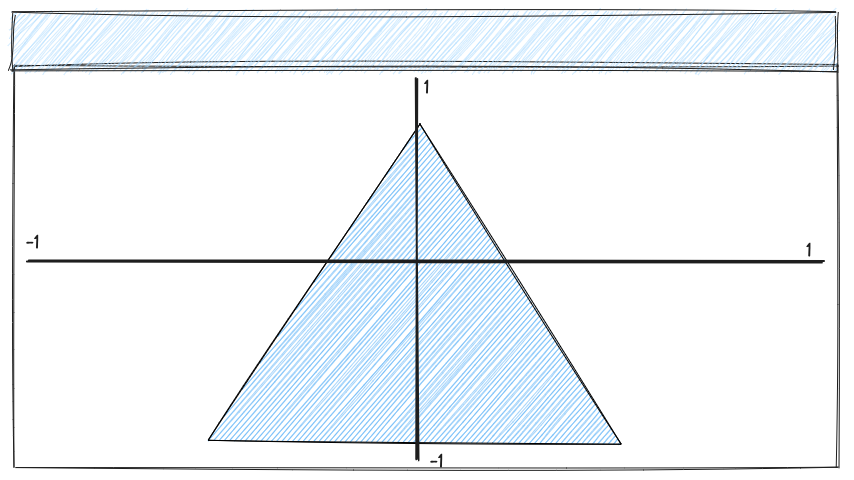
Concept
Program
Step 1: Setting Up the Development Environment
Installing the necessary tools and libraries for Raspberry Pi development. Creating a new project directory for your Brickout game.
Step 2: Configuring SDL and OpenGL
Initializing SDL and setting up an OpenGL context for rendering. Creating a window for the game.
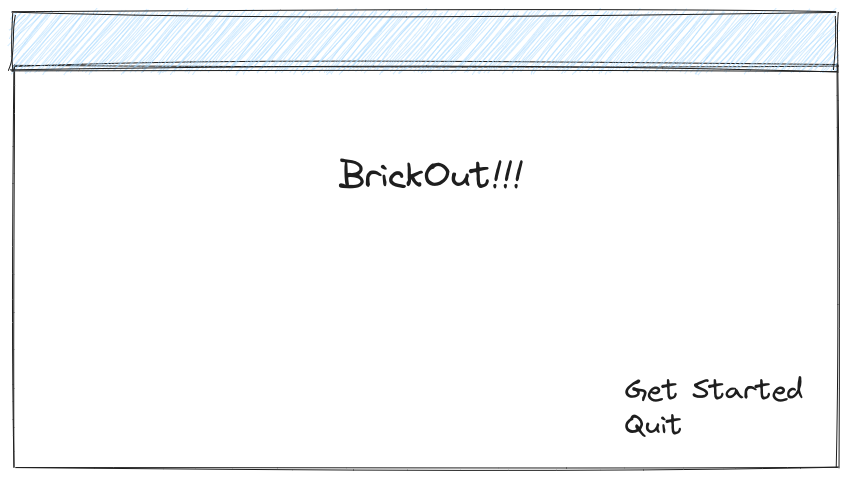
Step 3: Creating the Title Screen
Designing the title screen with text and graphics. Handling user input to start the game.
Step 4: Implementing the Game Loop
Setting up the main game loop for controlling gameplay. Handling events, updating game logic, and rendering the game.
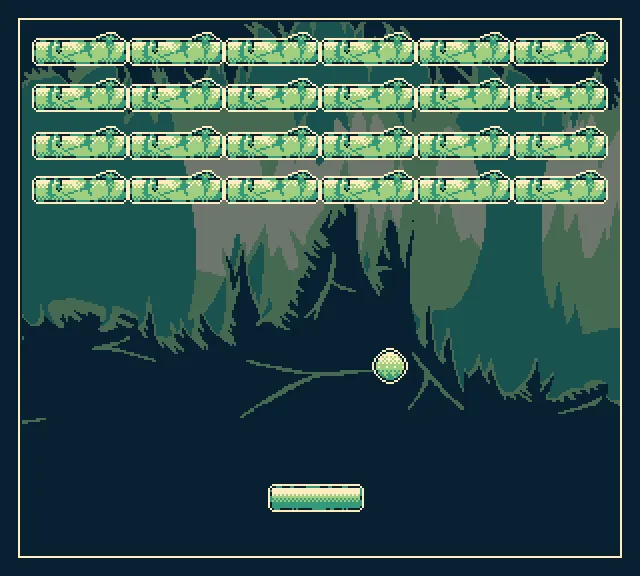
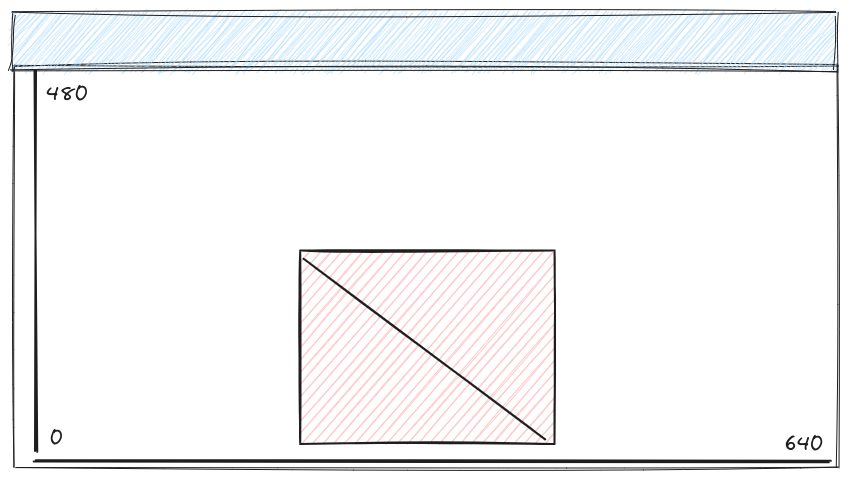
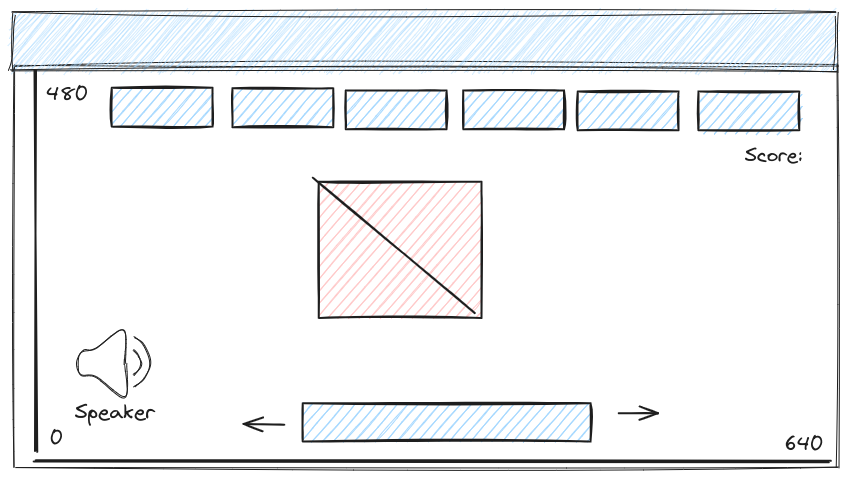
Step 5: Building the Paddle
Creating a paddle object that the player can control. Implementing movement and collision detection.
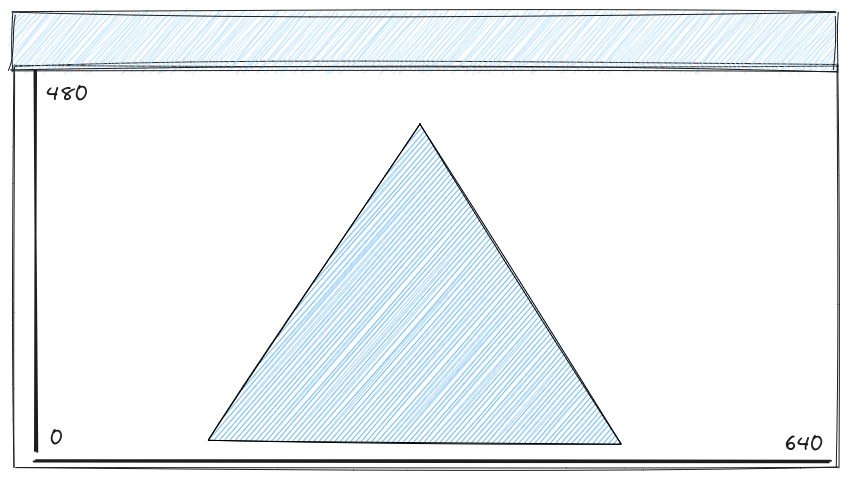
Step 6: Spawning the Ball
Generating the ball that bounces around the screen. Applying initial velocity and collision detection.
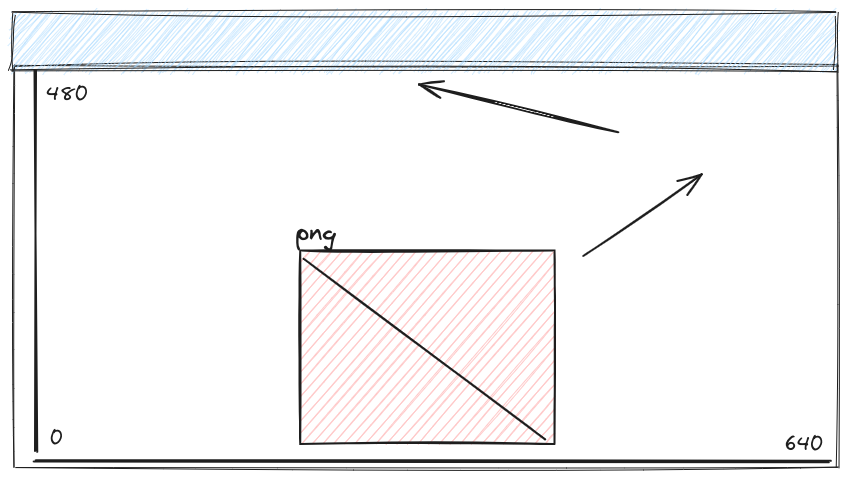
Step 7: Designing the Bricks
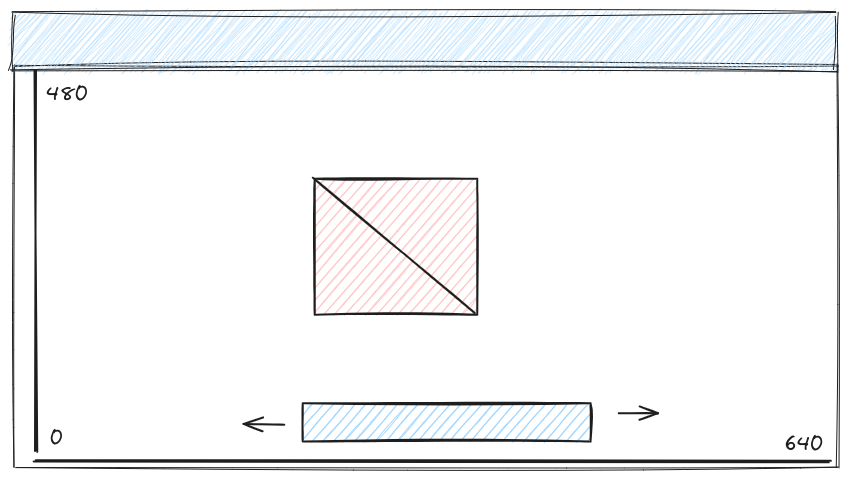
Creating a grid of bricks for the player to break. Managing different types of bricks and their states.
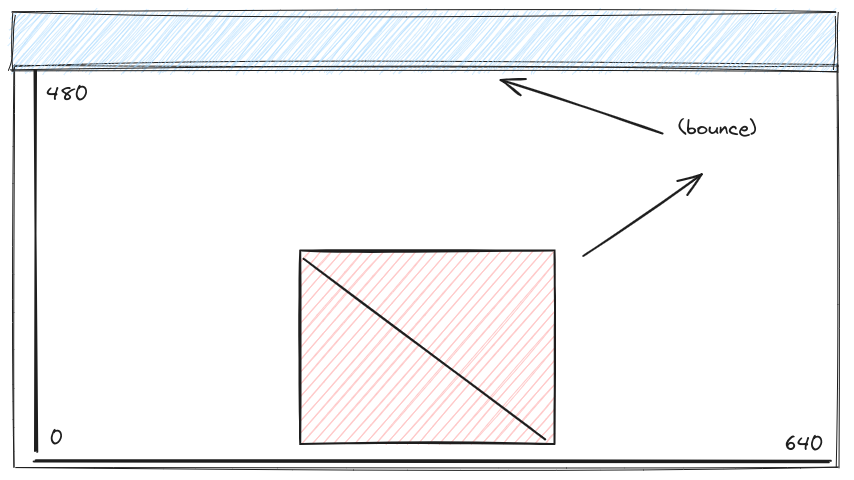
Step 8: Handling Collisions

Implementing collision detection between the ball, paddle, and bricks. Updating game state based on collisions.
Step 9: Adding Scoring and Lives
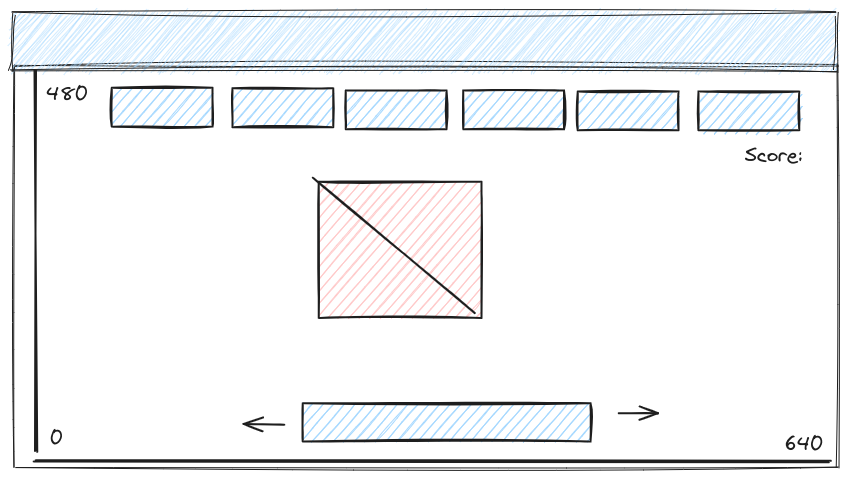
Keeping track of the player's score and remaining lives. Displaying this information on the screen.
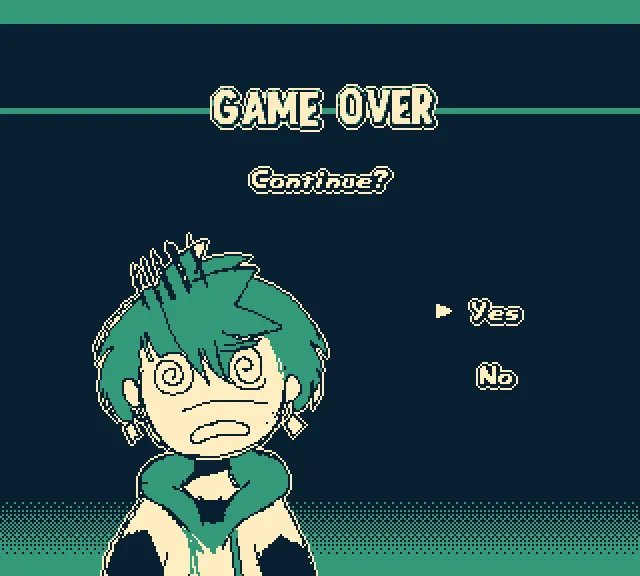
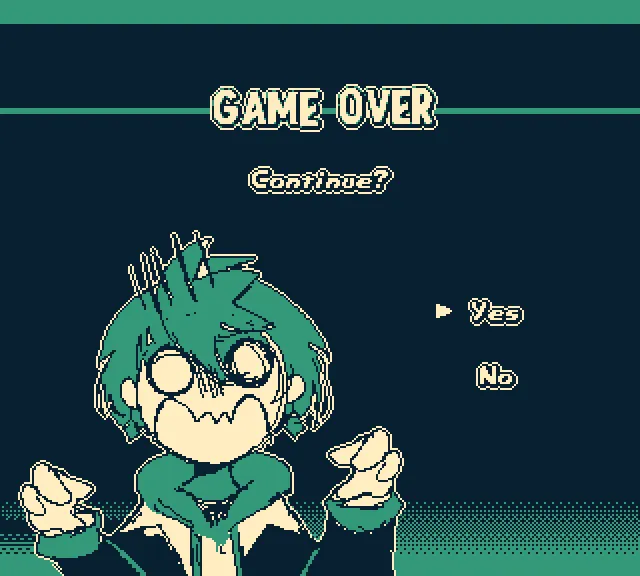
Step 10: Implementing Game Over
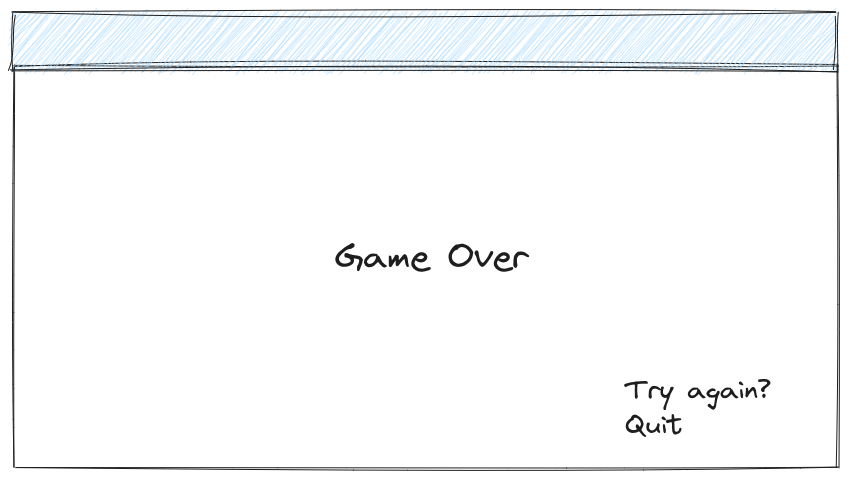
Detecting when the player has no lives left. Displaying a game over screen and allowing the player to restart.
Step 11: Adding Power-Ups
Implementing power-up items that enhance gameplay. Modifying paddle, ball, or brick behavior with power-ups.
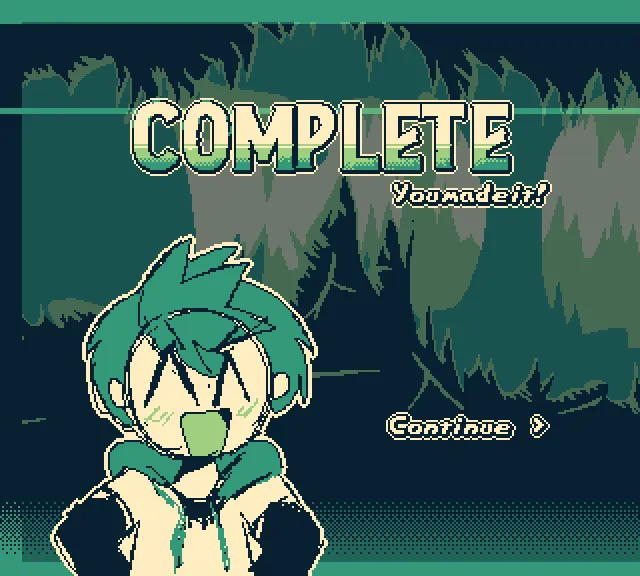
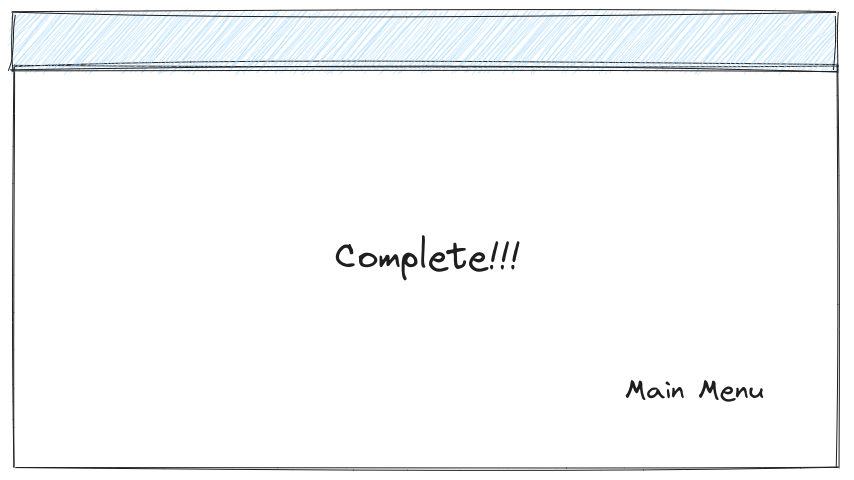
Step 12: Creating a Success Screen
Designing a success screen for when the player completes all levels. Allowing the player to restart or return to the title screen.
Step 13: Sound and Music
Integrating sound effects and background music to enhance the gaming experience. Implementing audio control for different game events.
Step 14: Final Testing and Deployment
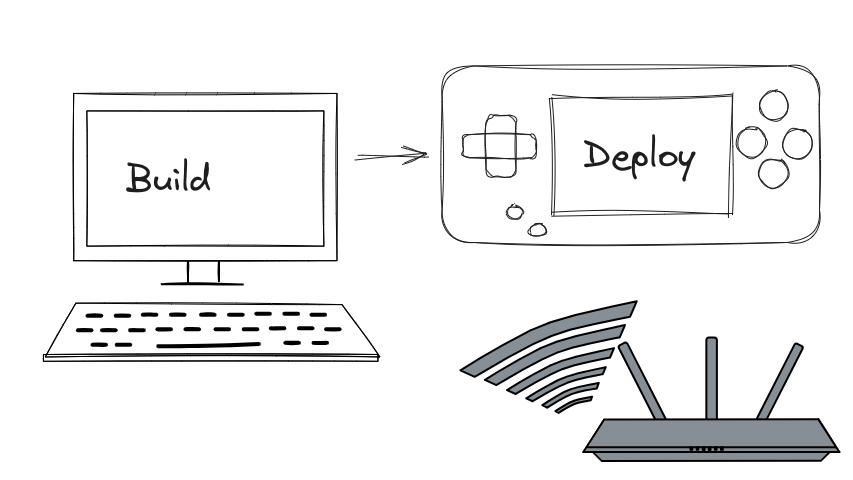
Thoroughly testing the game on the Raspberry Pi. Preparing the game for distribution and deployment.
Conclusion